Principally you can be put in an entry gap on the facet of the newel with the 1-12 drill bit after which drilling a 58 gap up from the underside. Nonetheless the flooring in an engineered hand scraped sort which implies the put up will are likely to rock a bit on the uneven floor.
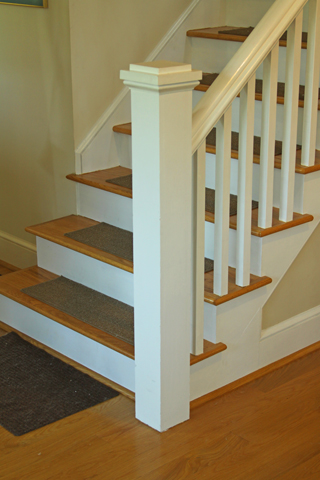
 How Are Newel Posts Hooked up An Illustrated Information The Dwelling Finisher
Find and mark the middle mark for the newel put up and place a pencil mark on the concrete the place the newel put up shall be.

Easy methods to set up newel put up on flat flooring. Maintain the drill at a 90-degree angle to make sure that the concrete anchor is inserted straight. Be sure to account for the pin high on the newel and the. Then drill a gap within the flooring to insert the Molly and switch the put up till its cosy sufficient.
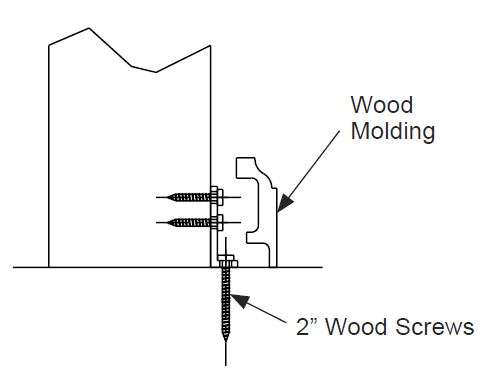
Conceal the screw holes with some ornamental molding. Principally you can be put in an entry gap on the facet of the newel with the 1-12 drill bit after which drilling a 58 gap up from the underside. Pre-drill holes for the screws into the bottom of the newel then safe it in place.
Are you able to get an image behind the faux stringer. This lets you set the newel put up down over the lag and tighten it down with the washer and nut. Describes a number of methods of find out how to set up newel posts together with the usage of a mounting plate angle bracket hanger bolt and keylock.
Take away the nut from the bolt and place the newel put up onto the bolt aligning the middle mark on the underside of the put up with the anchor bolt. To see if there’s a lower stringer nonetheless in place. Drill a gap onto the joist the place the newel put up is bolted.
– Newel put up will sit between 2 joists thought it was finest to suit trimmer joists to help below the ground is that this right. The outlet ought to simply be sufficiently big for the bracket to slip into. Step 1 Drill a gap down into the ground the place the newel is to be put in.
The primary technique to put in newel posts is to make use of a newel mounting plate. Take the glued piece of wooden and push it into the drilled gap till the wooden is on the identical degree with the floor of the put up. The peak of the handrail measured from balusters the forefront of each tread should meet the native constructing code.
Step 2 Screw the lag bolt into the ground. Completely different strategies of putting in newel posts and. Once you make your newel put up depart the middle open and feed threaded rod up the size of the newel.
Lag have to be put in into strong bracing. Wanting on the set up directions they present mounting on completed flooring. I researched a bit an settled on Certain-Tite Newel Submit Fastener 101-MO.
Step 4 Set up the beginning newel Submit touchdown newel Submit andor half-newel Posts with. Account for 1 above the handrail on the highest sq. block of the newel Submit. Take away the nut from the bolt and place the newel put up onto the bolt aligning the middle mark on the underside of the put up with the anchor bolt.
Fill the holes simply with epoxy ideally epoxy that has been thickened with glass beads or. Thread the put up onto the coarse threads of the anchor bolt. The ThreadLock newel put up fastener can be utilized on completed and unfinished flooring surfaces.
A metal plate is first screwed to the underside of the put up then the plate itself with the connected put up is screwed into the ground. Step 3 Reduce newel Posts to acceptable measurement. I can’t see any fixings into the ends of the treads so.
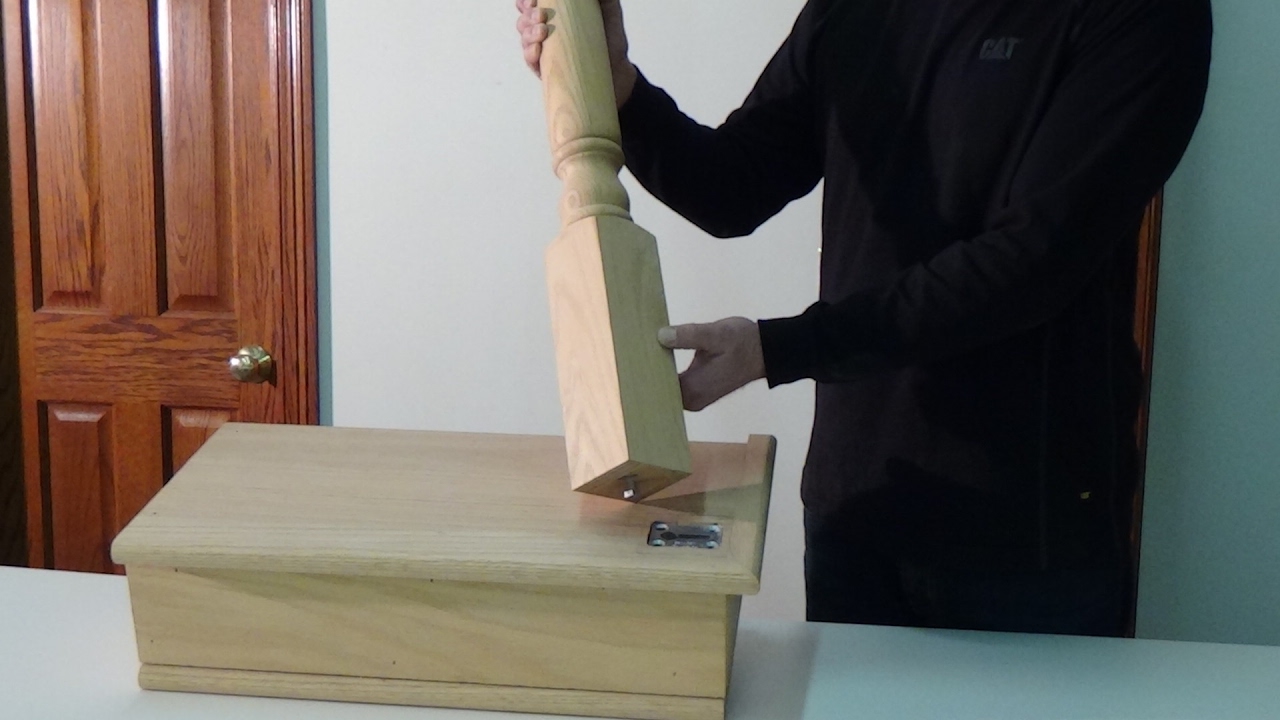
The 2 piece system makes it fast and simple to connect a newel put up. How To Set up a Ground Stage Newel Submit Utilizing Newel Submit Fasteners. Click on to see full reply Accordingly how do you fasten a newel put up.
Set up the lag bolts to safe the put up to the ground. Then take a chunk of wooden and apply wooden glue on it. However you’ll nonetheless get flex from the subfloor.
This lets you set the newel put up down over the lag and tighten it down with the washer and nut. Drill into the concrete with a hammer drill fitted with a 916-inch masonry bit. Two nuts can be utilized to create a brief head bolt.
Completely different strategies of putting in newel posts and fastening newel posts to. Step 2 Measure how excessive you want your newel. So I can lower out a 44 part of the flooring to get to a strong.
Step 2 Screw the lag bolt into the ground. How do you connect newel to concrete flooring. Principally you can be put in an entry gap on the facet of the newel with the 1-12 drill bit after which drilling a 58 gap up from the underside.
This shall be from the ground to the underside of the handrail the place the newel shall be put in. Drill pilot holes via the lag bolt or screw holes on the perimeters of the anchor. The primary technique to put in newel posts is to make use of a newel mounting plate.
In the event you might discover a sufficiently big one you would need to fill within the backside of the posts and drill a brass insert to string the Molly bolt into. Step 2 Screw the lag bolt into the ground. Set the picket put up in place on the picket flooring.
Drill a gap down into the the a joist or header within the framing deep sufficient and huge sufficient to accommodate the bolt on the underside of the newel put up. One other manner is to mount threaded inserts within the floor the place you’ll mount the newel. This lets you set the newel put up down over the lag and tighten it down with the washer and nut.
All the time ensure you have acceptable backing on the ground itself and that you’re conscious of and keep away from any electrical wires plumbing and so on.
 Colonial Newel Submit Painted Black And Then Banister Is White Stair Railing Design Inside Stairs Stair Posts
 Newel Submit Bannister Staircase Transform Staircase Design Stair Transform
 Anchoring A Newel Submit Woodworking Weblog Movies Plans How To
 How To Set up A Ground Stage Newel Submit Utilizing Newel Submit Fasteners
 55 Quot Fluted Field Newel Submit Newel Submit Stair Submit Stair Components Craftsman Model Submit Craftsman Model Newel Craftsm Staircase Design Banister Transform Staircase
 Staircase Transform From M C Staircase Trim Elimination Of Outdated Treads Wood Balusters Handrail And Newel Kitchen Decor Residence Residence Decor Kitchen Decor
 Stair Components 4093 55 In X 6 1 4 In Primed White Flat Panel Field Newel Submit 4093x 055 Hd00l The Dwelling Depot Stair Railing Makeover Stair Railing Design Craftsman Staircase
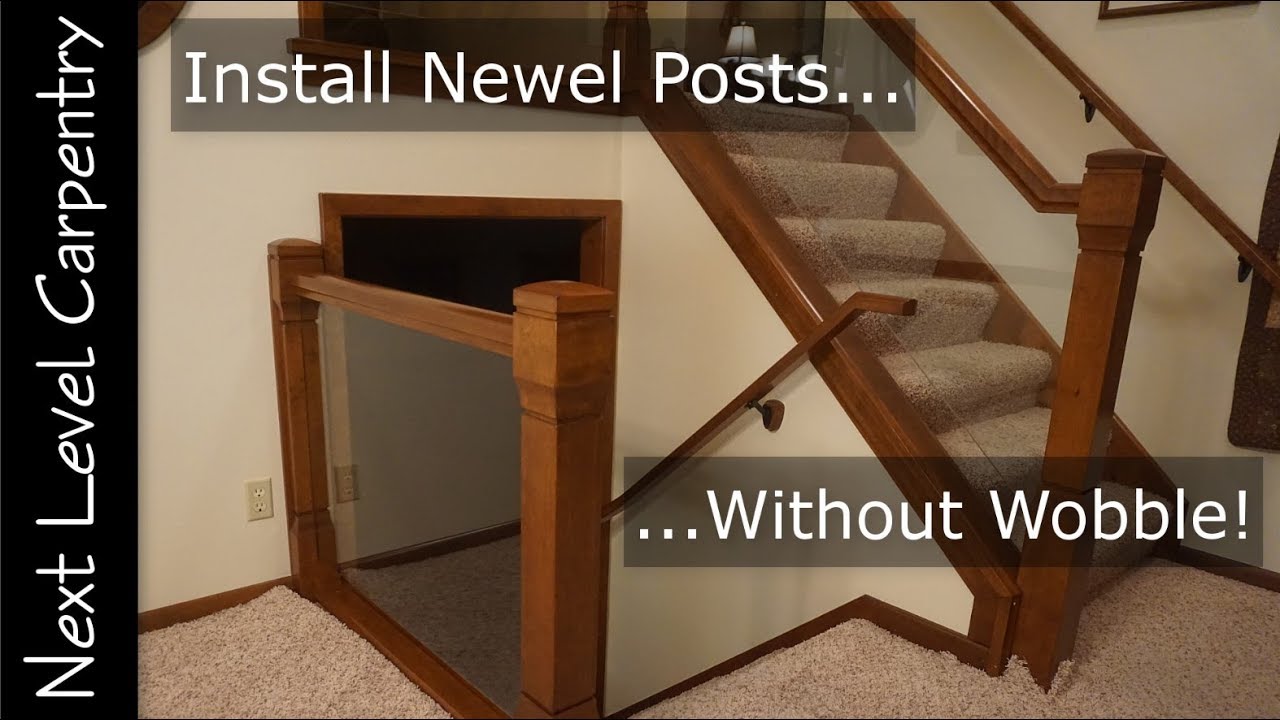 How To Set up A Newel Submit With out Wobble Youtube
Remodelaholic How To Construct A Newel Submit Stair Wall Decor Stair Partitions Newel Posts
 Pin On Stairs
 How To Set up A Ground Stage Newel Submit Utilizing Newel Submit Fasteners Stair Transform Diy Stairs Newel Posts
 Stair Components 4093 55 Oak Flat Panel Field Newel Submit 4093r 055 Hd00l The Dwelling Depot Newel Posts Stair Components Stairs
 How To Set up A Newel Submit Utilizing The Keylock Newel Submit Fastener Youtube
 Diy Stair Banister Tutorial Half 1 Constructing Round Current Newel Submit Diy Stair Railing Banister Transform Diy Staircase Makeover
 Pin By Yuriy Oberemok On Lestnichnye Konstrukcii In 2020 Stair Components Newel Posts Pink Oak
 18 Set up The Newel Posts How To Construct Stairs Youtube Stair Newel Submit Constructing Stairs Trendy Stair Railing
 Field Newels Stair Newel Submit Staircase Design Stairs Design
 Fluted Field Newel Submit Backside Part Is 6 1 4 Sq. 56 Top High Of The Field Newel Is 4 3 4 Newel Posts Stairs Design Staircase Railings
 How To Construct Stairs The Newel Posts Youtube